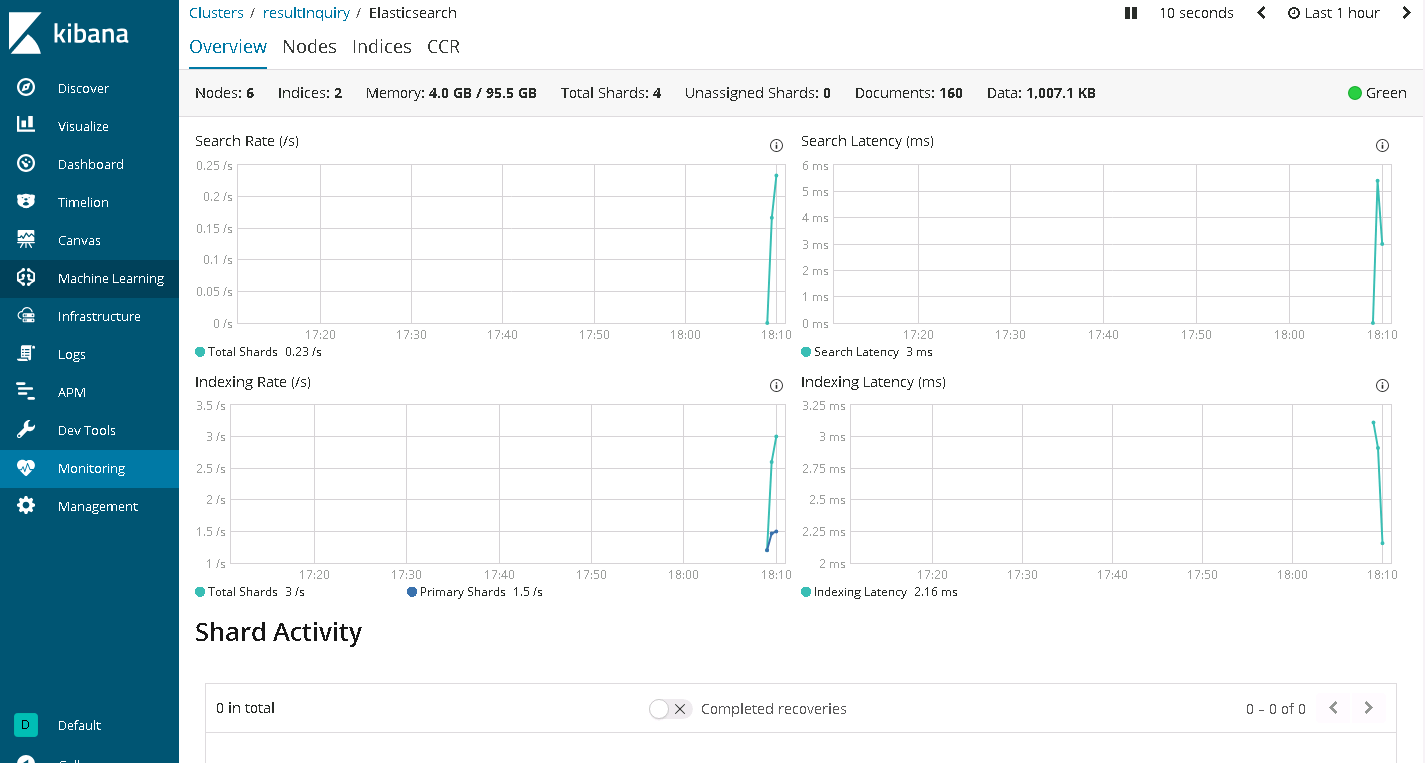
Elasticsearch5.6集群配置

创建用户
chattr -i /etc/shadow /etc/group /etc/shadow /etc/passwd
adduser elastic
passwd elastic

cd /data/
mkdir elastic
cd elastic
mkdir data
mkdir log
chown -R elastic /data/elastic/
#下包
mkdir /opt/downloads/
mkdir /opt/soft/
cd /opt/downloads/
wget https://artifacts.elastic.co/downloads/elasticsearch/elasticsearch-6.5.1.tar.gz
wget https://artifacts.elastic.co/downloads/kibana/kibana-6.5.1-linux-x86_64.tar.gz
wget http://download.oracle.com/otn/java/jdk/xxxxxx/jdk-8u11-linux-x64.tar.gz

tar -zxvf elasticsearch-6.5.1.tar.gz -C /opt/soft/
tar -zxvf kibana-6.5.1-linux-x86_64.tar.gz -C /opt/soft/
chown -R elastic /opt/soft/elasticsearch-6.5.1/
chown -R elastic /opt/soft/kibana-6.5.1-linux-x86_64/
配置 ES 内存占用,请根据具体机器配置调整
#注意xms=xmx
cd /opt/soft/elasticsearch-6.5.1/config/
vi jvm.options
-Xms8g
-Xmx8g
配置 Elasticsearch
cd /opt/soft/elasticsarch-6.5.1/config/
cp elasticsearch.yml elasticsearch.yml.bak
>elasticsearch.yml
vi elasticsearch.yml
# ---------------------------------- Cluster ----------------------------------- #
# 设置集群名
cluster.name: my-es
#
# ------------------------------------ Node ------------------------------------ #
# 设置节点名,集群内唯一
node.name: node01
#

# 根据节点类型设置以下设置角,注意区分角色
# master节点:node.master: true node.data: false
# data节点:node.master: false node.data: true
# client节点:node.master: false node.data: false

node.ingest: true
#
# 设置机架信息
node.attr.rack: r1
#
# ----------------------------------- Paths ------------------------------------ #
# 设置数据路径
path.data: /data/elastic/data
#
# 设置日志路径【需更改】
path.logs: /data/elastic/log
#
# ----------------------------------- Memory ----------------------------------- #
# 设置内存锁定
bootstrap.memory_lock: true
bootstrap.system_call_filter: false
#
# ---------------------------------- Network ----------------------------------- #
# 设置ip和端口【需更改】
network.bind_host: master333
network.publish_host: 0.0.0.0
http.port: 9200
#
# 设置跨域访问
http.cors.enabled: true
http.cors.allow-origin: "*"
http.max_content_length: 500mb
#
# --------------------------------- Discovery ---------------------------------- #
#设置zen发现范围(只需要填写master节点的 ip 即可)
discovery.zen.ping.unicast.hosts: ["master111", "master222", "master333"]
discovery.zen.no_master_block: write
discovery.zen.fd.ping_timeout: 10s
#
# 设置最小主节点个数,一般为:(master_node_count+1)/2
discovery.zen.minimum_master_nodes: 1
#
# ---------------------------------- Gateway ----------------------------------- #
# 设置在有4个节点后进行数据恢复
gateway.recover_after_nodes: 4
gateway.expected_nodes: 6
gateway.recover_after_time: 1m
#
# ---------------------------------- Various ----------------------------------- # 禁止通配符模式删除索引
action.destructive_requires_name: true
#
indices.recovery.max_bytes_per_sec: 200mb
indices.memory.index_buffer_size: 20%
#
# 默认开启全部类型脚本,可以通过下面配置进行限制
# script.allowed_types: inline
# script.allowed_contexts: search, update
#
# 关闭xpack的安全校验
xpack.security.enabled: false
#
# 开启 monitoring
xpack.monitoring.enabled: true
xpack.monitoring.collection.enabled: true
#
# 设置 monitoring 写入信息
# xpack.monitoring.exporters.
#   sky:
#       type: http
#       host: ["sky-02", "sky-03", "sky-04", "sky-05", "sky-06"]
#       # 设置 monitoring 索引格式,默认是 YYYY-MM-DD(按天新建)
#       index.name.time_format: YYYY-MM
#       headers:
#           # 设置 Basic 认证信息(详见插件安装部分说明)
#           Authorization: "Basic XXXXXXXXXXXXXXX"
安装插件
推荐安装的插件有:
analysis-ik中文分词插件、Readonlyrest 安全认证插件、elasticsearch-head 集群监控管理插件(chrome 插件)
插件下载链接: https://pan.baidu.com/s/1r_322unsIjoWlhY8u7pkBA 提取码: aupq
安装:
/opt/soft/elasticsearch-6.5.1/bin/elasticsearch-plugin install file:///opt/downloads/elasticsearch-analysis-ik-6.5.1.zip
/opt/soft/elasticsearch-6.5.1/bin/elasticsearch-plugin install file:///opt/downloads/readonlyrest-1.16.29_es6.5.1.zip
##配置 Readonlyrest Basic安全认证
vim /opt/soft/elasticsearch-6.5.1/config/readonlyrest.yml
readonlyrest:
access_control_rules:
- name: "Require HTTP Basic Auth"
type: allow
auth_key: es:123456
启动 ES(默认 ES 不支持 root 用户启动 )
#其他服务器无法访问时,请检查防火墙配置
su elastic
cd /opt/soft/elasticsearch-6.5.1
启动:nohup ./bin/elasticsearch &
验证:curl -get localhost:9200
配置 Kibana
进入 Kibana 的解压目录下的 conf 文件夹,打开配置文件 kibana.yml。
cd /opt/soft/kibana-6.5.1-linux-x86_64/config/
cp kibana.yml kibana.yml.bak
kibana.yml
vim kibana.yml
#  ui 的端口
server.port: 5601

#  kibana 访问 ip
server.host: "0.0.0.0"

# ES 地址
elasticsearch.url: "http://10.70.0.48:9200"

# dashboards. Kibana creates a new index if the index doesn't already exist.
#kibana.index: ".kibana"

# 打开 kibana 时默认页面
#kibana.defaultAppId: "home"

# ES Basic 认证信息 【需更改】
elasticsearch.username: "es"
elasticsearch.password: "Wcm6gMBA6p_OsQi"

# 设置时区信息
#i18n.locale: "en"

# 开启监控
xpack.monitoring.enabled: true

# 关闭 kibana 监控,默认为 true
xpack.monitoring.kibana.collection.enabled: false
xpack.security.encryptionKey: "something_at_least_32_characters"
启动 Kibana
cd /opt/soft/kibana-6.5.1-linux-x86_64
启动:nohup bin/kibana &
验证:访问http://ip:5601/